Data Basics
ZingGrid applies data in many formats. As long as the data is in a JavaScript array or object, we can probably handle it out of the box. In this guide, we'll walk you through the accepted data types and ways of assigning data.
Prefer video tutorials? Check out our quick video guide below:
In the video above, we mention setTimeout, which we used to simulate a delay in network response time, but you don't need to use it for ZingGrid compatibility.
Data Types
We accept five types of data structures:
1. Array of Arrays [[]]
[
    ["Philip J. Fry","Earth"],
    ["Turanga Leela","Earth"] ...
  ]
2. Array of Objects [{}]
[
    {
      "name": "Philip J. Fry",
      "origin": "Earth"
    } ...
  ]
3. Object of Objects {key: {}}
{
    "1": {
      "name": "Philip J. Fry",
      "origin": "Earth"
    },
    "2": {
      "name": "Turanga Leela",
      "origin": "Earth"
    } ...
  }
4. Array of Nested Objects [{key: {}}]
[
    {
      "employee": {
        "name": "Philip J. Fry",
        "origin": "Earth"
      }
    } ...
  ]
5. Object of Nested Objects {key: {key: {}}}
{
    "1": {
      "employee": {
        "name": "Philip J. Fry",
        "origin": "Earth"
      }
    },
    "2": {
      "employee": {
        "name": "Turanga Leela",
        "origin": "Earth"
      }
    }
  }
Nested objects will produce nested headers by default.
Data Assignment
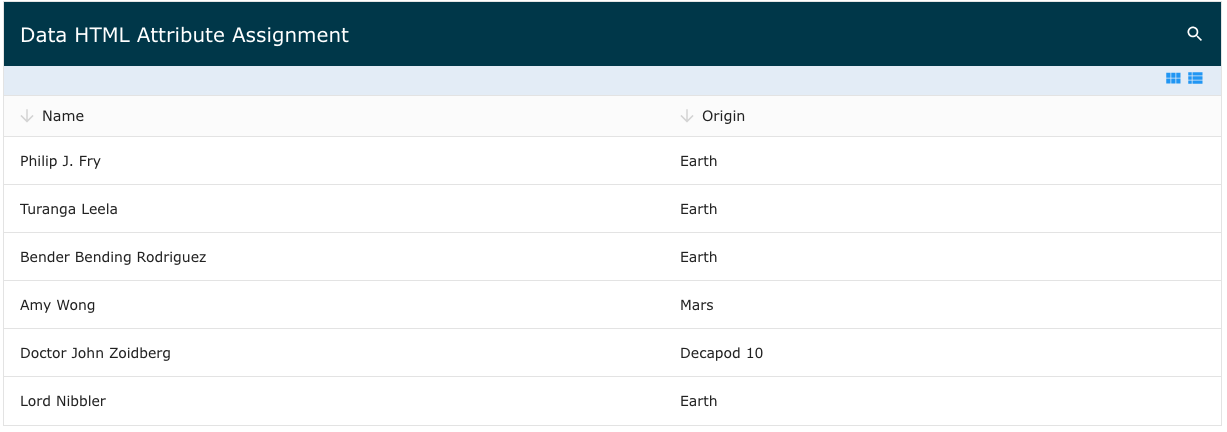
ZingGrid provides the data attribute as the most primitive method to assign data to the grid. This
data must have a valid JSON structure. This is per HTML spec when passing objects and arrays to HTML attributes.
To set the grid's data attribute, there are three supported ways:
- HTML inline data
- ZingGrid API
- HTML attribute manipulation
HTML Stringified Data
As we have seen from every example up until now, assigning inline data in markup is the most basic form of assigning data.
<zing-grid data='[{"name": "Philip J. Fry"}]'></zing-grid>
ZingGrid API
To assign JavaScript object data, use the ZingGrid API method setData(). This is the most efficient way to assign data because this assignment is not attribute manipulation, but property assignment. This means data is being assigned to the internal ZingGrid component data property directly.
View the API docs to see the full list of methods.
const zgRef = document.querySelector('zing-grid');
const data = [{...}];
// target grid and assign data directly
zgRef.setData(data);
Result
Here is our complete grid which uses setData() to assign data:
Attribute Manipulation
Assigning data through JavaScript as an object is the most practical use of assigning data. You can achieve that through direct attribute manipulation. This will assign a string to the HTML attribute so the data string will be in the markup. This is not good for large datasets.
const zgRef = document.querySelector('zing-grid');
const data = [{...}];
// target attribute directly and stringify your data structure
zgRef.setAttribute('data', JSON.stringify(data));
Result
Here is our complete grid which assigns data through attribute manipulation:
Data Sources
Other than applying JavaScript array or object as data, ZingGrid also supports different data sources such as:
- CSV
- XML
- HTML table
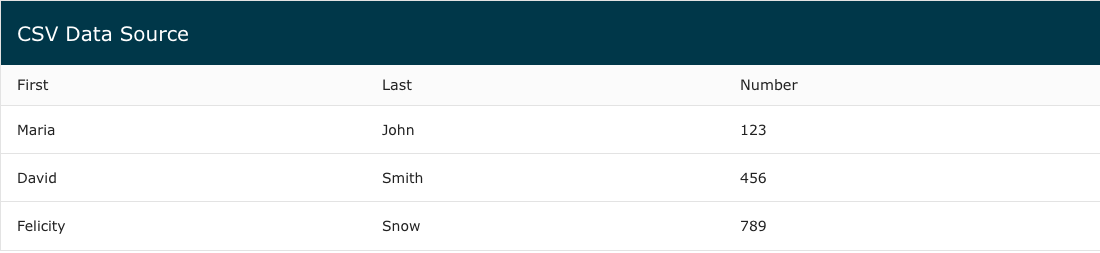
CSV
The best way to assign CSV data to the grid is through the ZingGrid API or manipulating the attribute via JavaScript.
View the API docs for list of ZGParam attributes to configure how to parse CSV data.
XML
Assigning XML data is also best through the ZingGrid API or manipulating the attribute via JavaScript.
View the API docs for list of ZGParam attributes to configure how to parse XML data.

HTML Table
There are various different ways to use an HTML table as a data source.
- Set
datato theidof the HTML table - Wrap the
<zing-grid>tag around<table> - Add
[is="zing-grid"]attribute to the<table>
The example below uses the [is="zing-grid"] approach to assign the HTML table data to the grid.
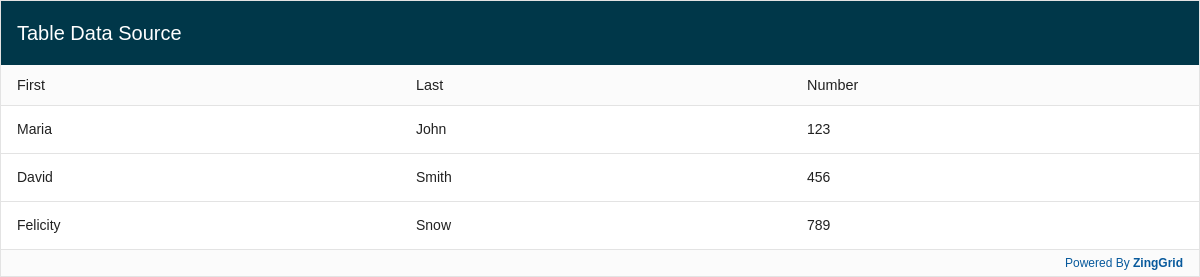
View the HTML Table Data docs for more info about using an HTML table as a data source.
Moving Forward
You now understand the basics of ZingGrid data assignment. The next step is getting your remote data sources integrated. If you want to move past this and learn more about features in ZingGrid, read our Adding Features guide. If you think you are ready to start styling your grid, read our Styling Basics guide.
[getting-started: data basics]